Introducing standard units of length measurement at 2nd grade: centimeters and inches
Although students are familiar with the idea that all objects have length, they don't automatically get the concept of a measurement system. That’s especially true when there are two of them: U.S. customary and metric, both frequently used in everyday life. Meanwhile, measurement is a fundamental area of math across the key stages aimed at promoting students’ kinesthetic skills. So, how can teachers introduce a measurement system as a whole concept to students and explain the importance of it in real life and in math particularly?
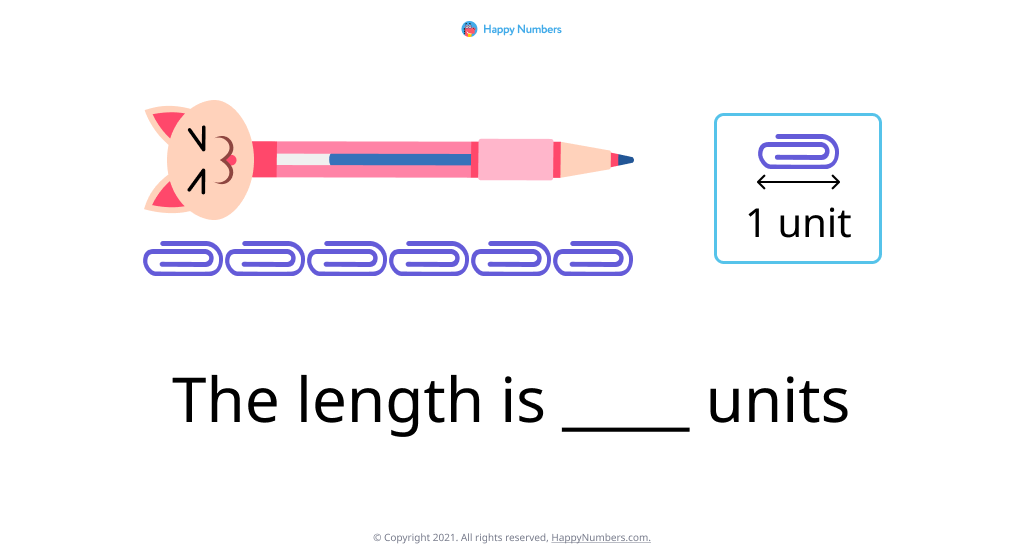
To begin, it’s helpful to start with explaining why we use standard units of measurement by referring to simple analogies from real life: at Happy Numbers we do exactly that. We show students that any object (for example, a pen) can be measured in other smaller units of objects, such as paper clips.
Here we apply the effective concrete-pictorial-abstract strategy: using concrete objects of reference at the beginning of the course (cubes, balls etc.) and then moving to abstract measurement units (centimeters, meters etc.) at more advanced stages of learming.
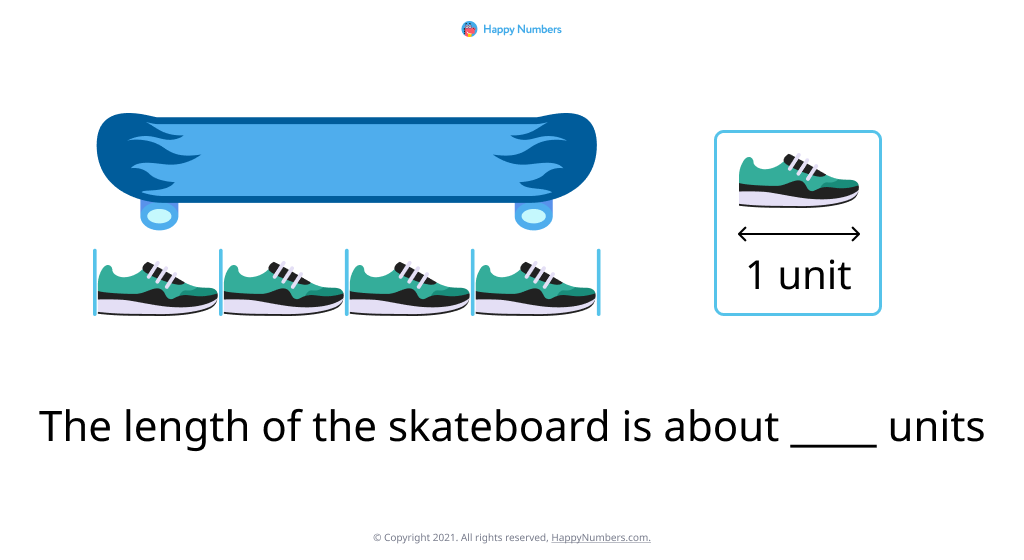
Students quickly become aware that measuring pens in paper clips might not give us an exact and uniform result for all. How do we measure a skateboard's length if we all have different sizes of sneakers?
In order to get correct comparable results, we need to use universal units. Students may start measuring the same object (e.g., a textbook or piece of paper) using their own erasers.
However, with each student having different-sized erasers, they realize that it’s more effective to have a constant unit of measurement that does not change depending on circumstances.
Once students have a clear understanding of the idea of measurement units, we can move to introducing standard units, like centimeters and inches. Students should learn that there are multiple standard units of length measurement and be able to differentiate between them using measurement tools. This might be a tough one, but explaining it thoughtfully with the help of visual images of familiar objects can eliminate the confusion.
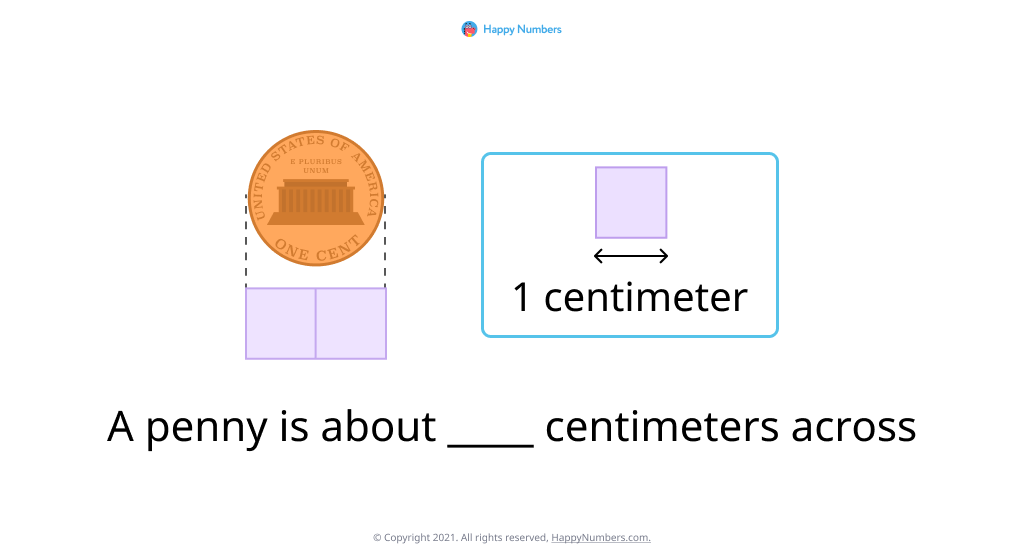
To see the full exercise, follow this link.
At this stage, students start learning how to use a centimeter ruler and measure objects with it. Thus, they practice identifying the measurement on the ruler that’s closest to the endpoint of the object, placing its end exactly to the 0 point.

To see the full exercise, follow this link.
It’s likely that students won’t understand the difference between centimeters and inches at first. That is why demonstrating it with some visual models is much better for their comprehension. For example, measure the same object using both a centimeter ruler and an inch ruler, and compare the results.
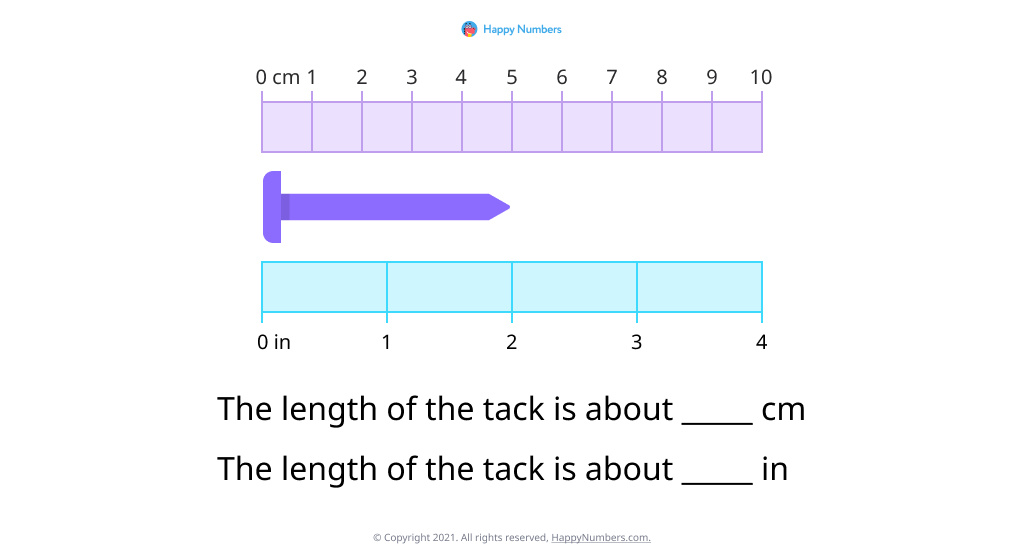
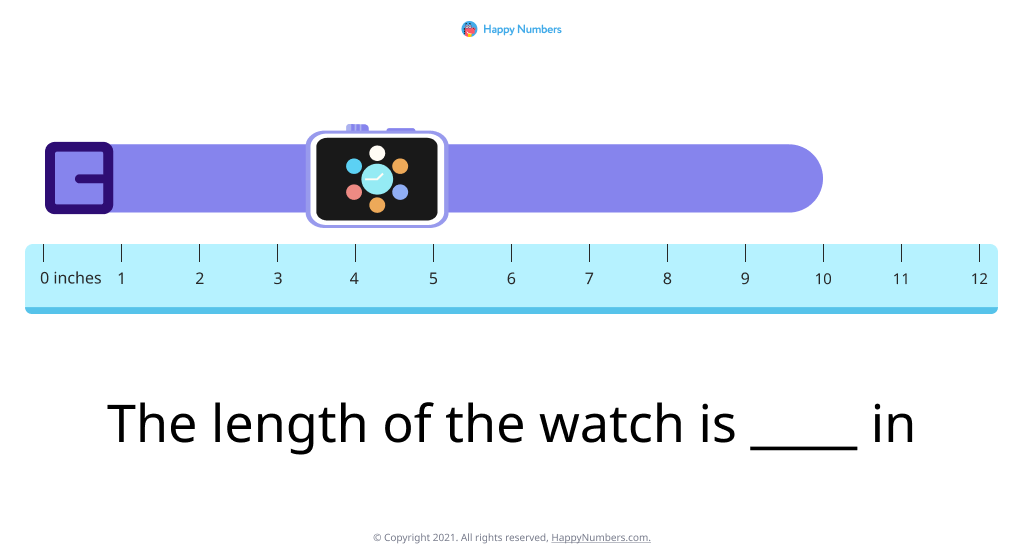
To see the full exercise, follow this link.
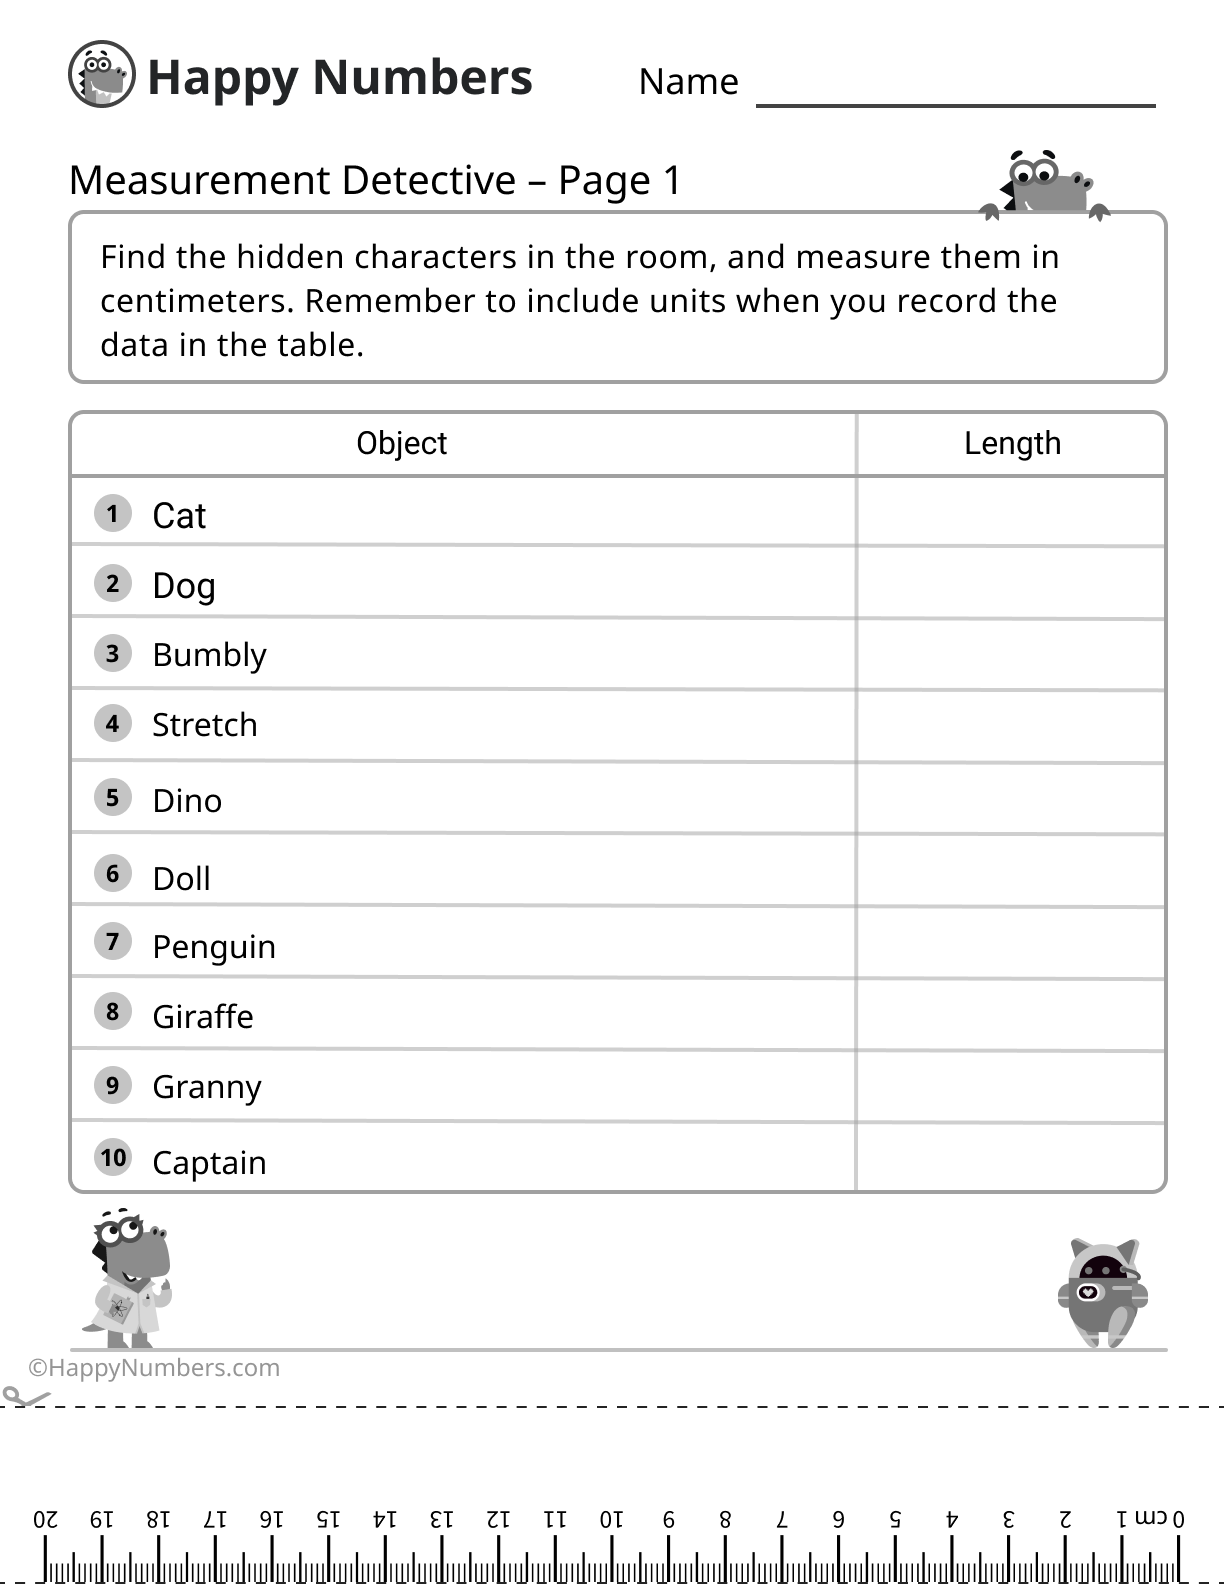
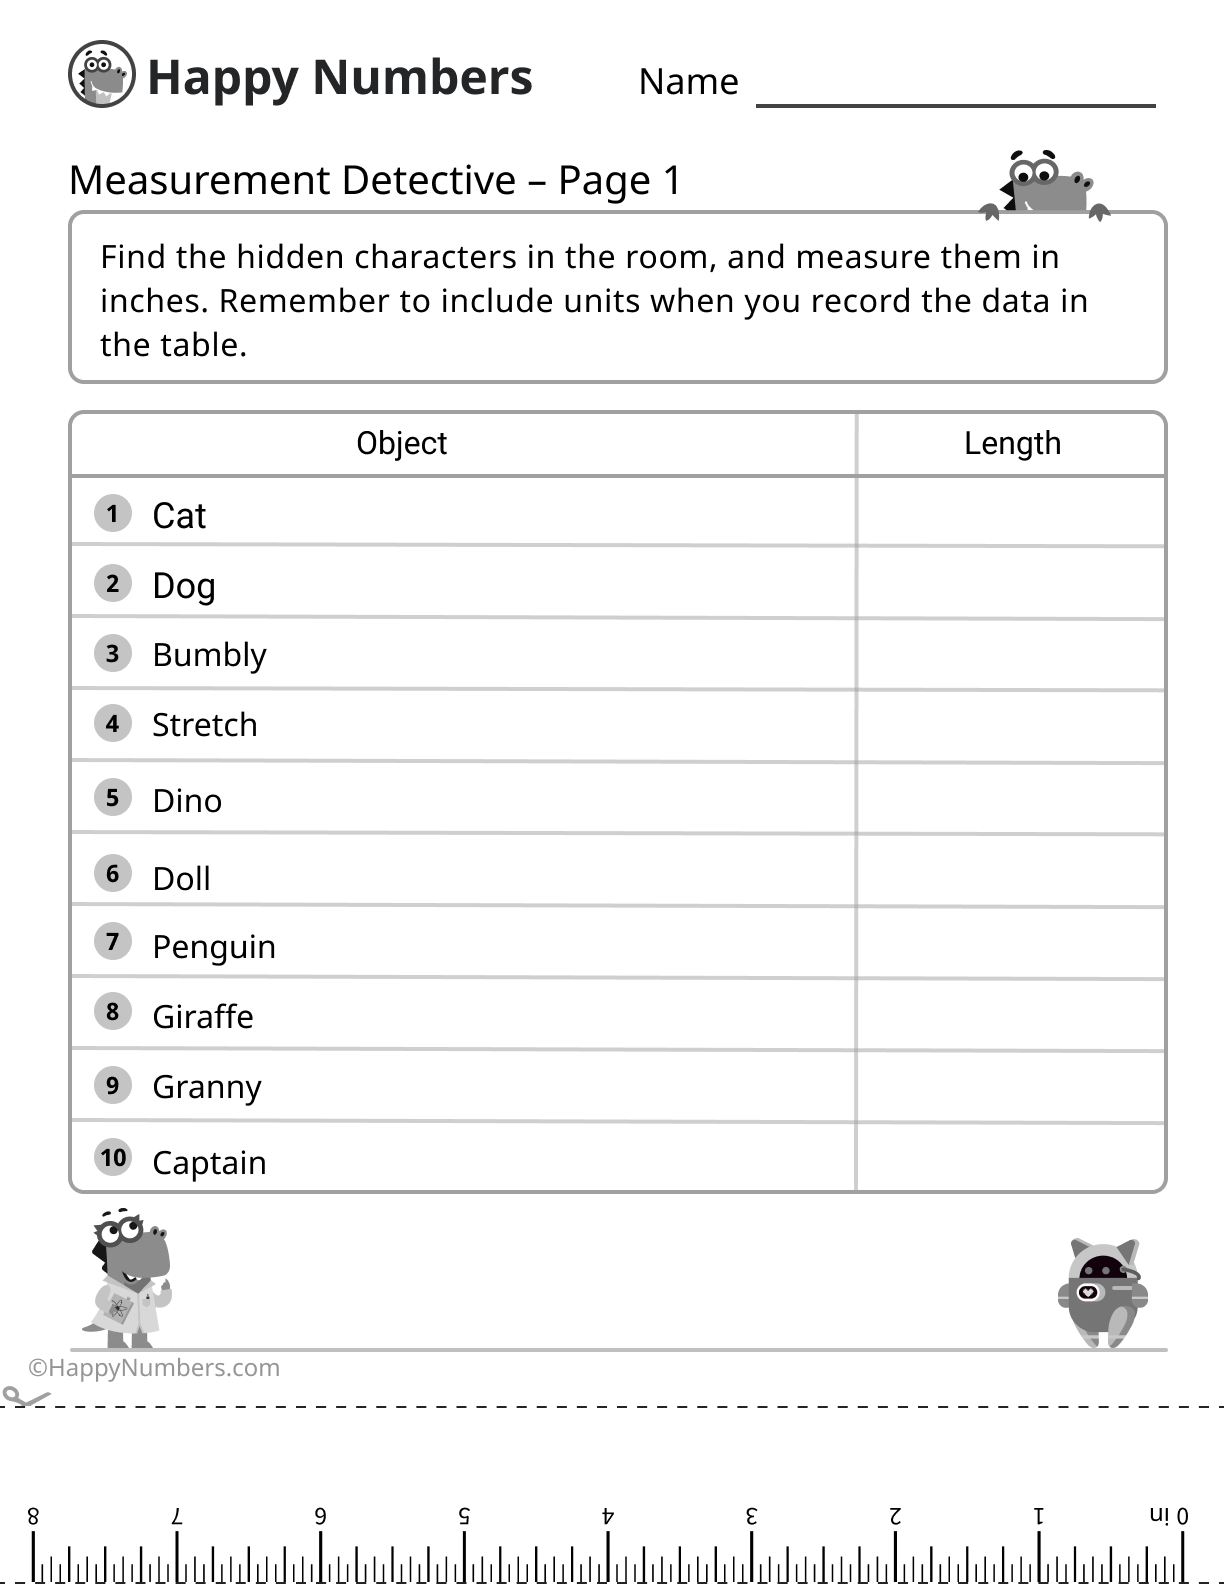
Using real objects and measurement tools or just letting students measure the length of anything they see around in a classroom is a great way to start practicing. Organize a quest called “Measurement detective” to help students apply their new measurement skills.
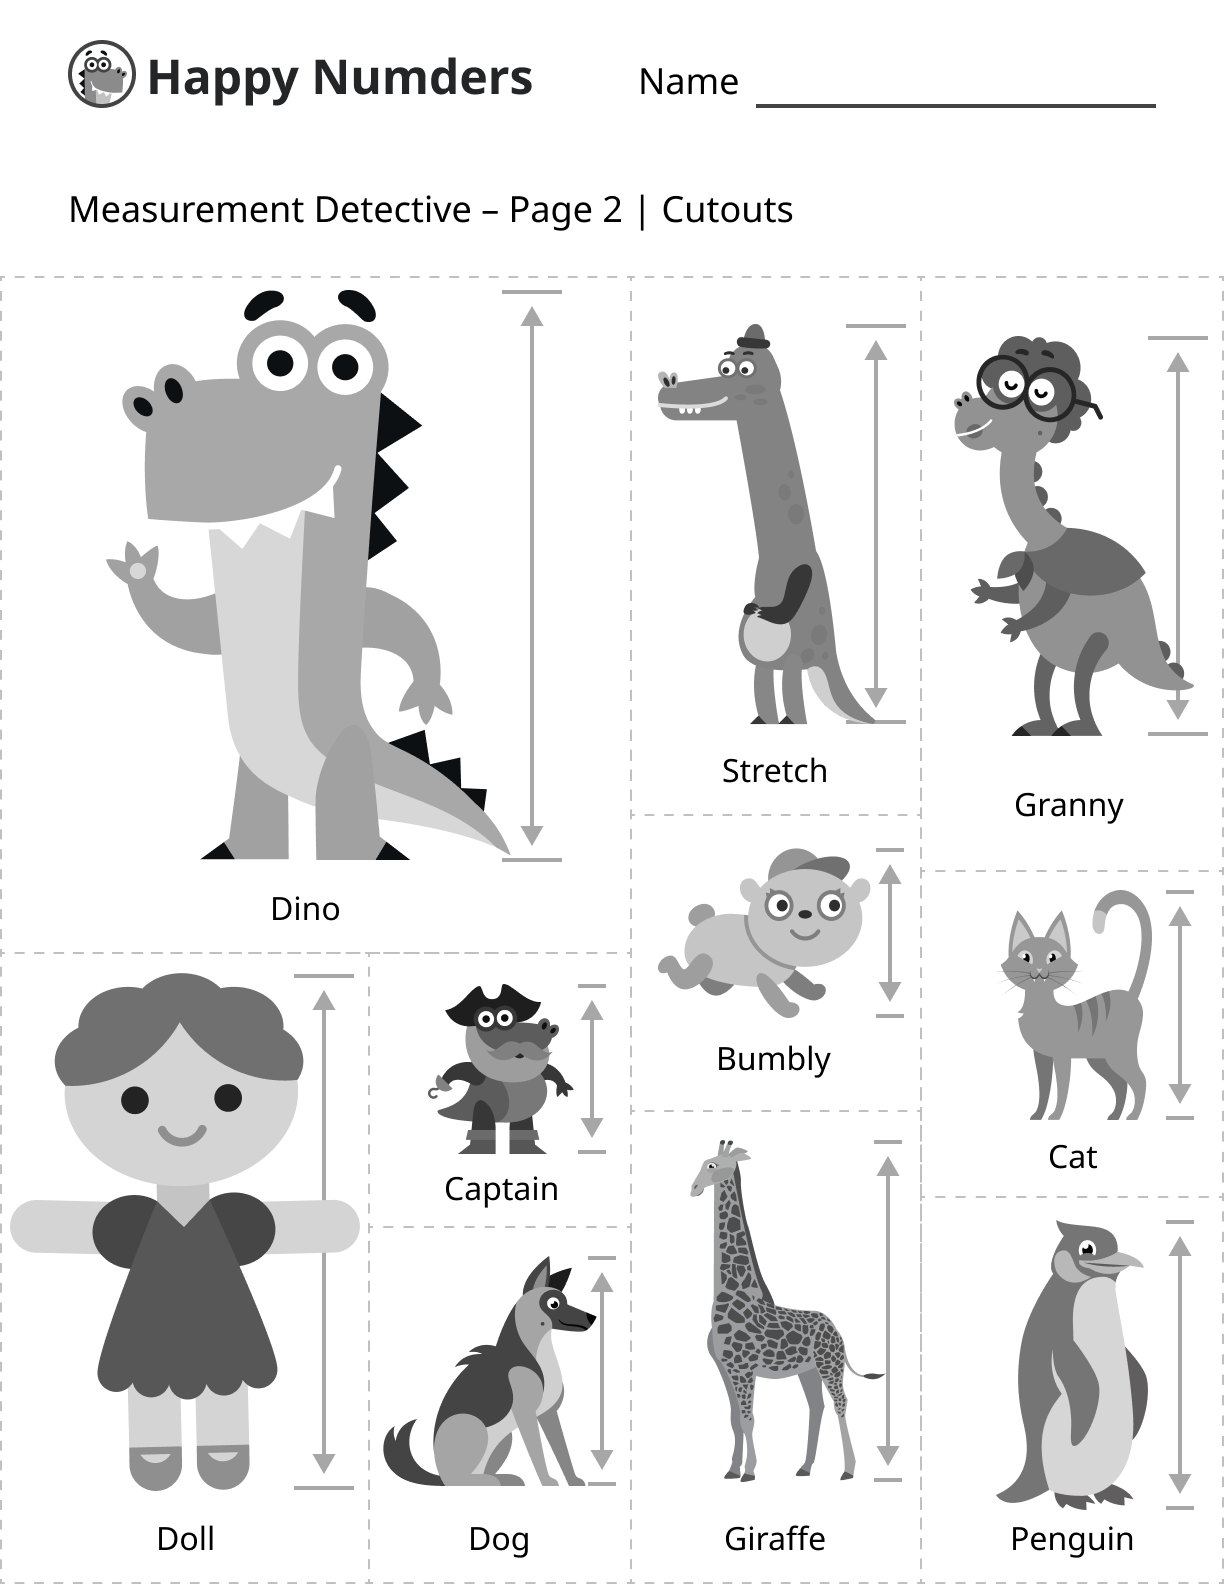
Cut out the characters from a printable, then hide them around the classroom and introduce the students to the characters so they know what they’re looking for. The main task is to find them and measure the length of each character.
Dividing into teams or creating some narrative around the quest might be a good way to develop the idea and make it even more fun. This is an exciting way to practice length measurement with Happy Numbers printables.
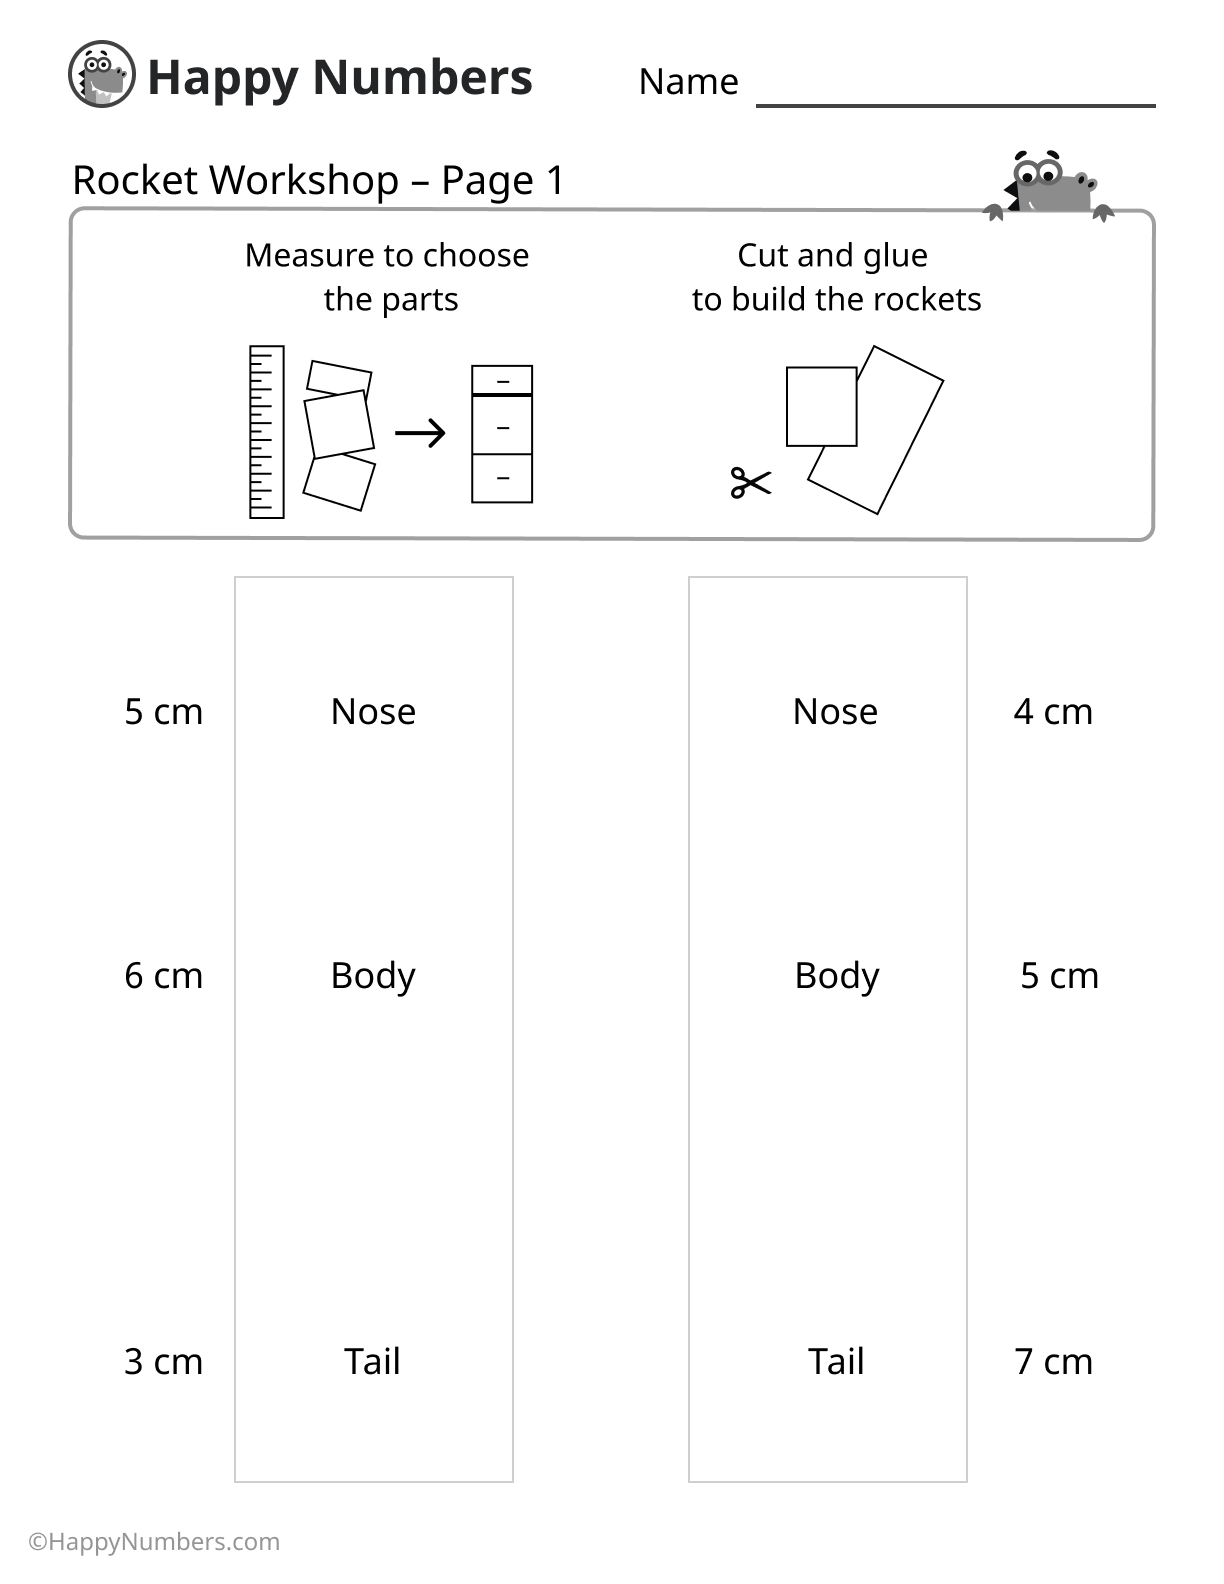
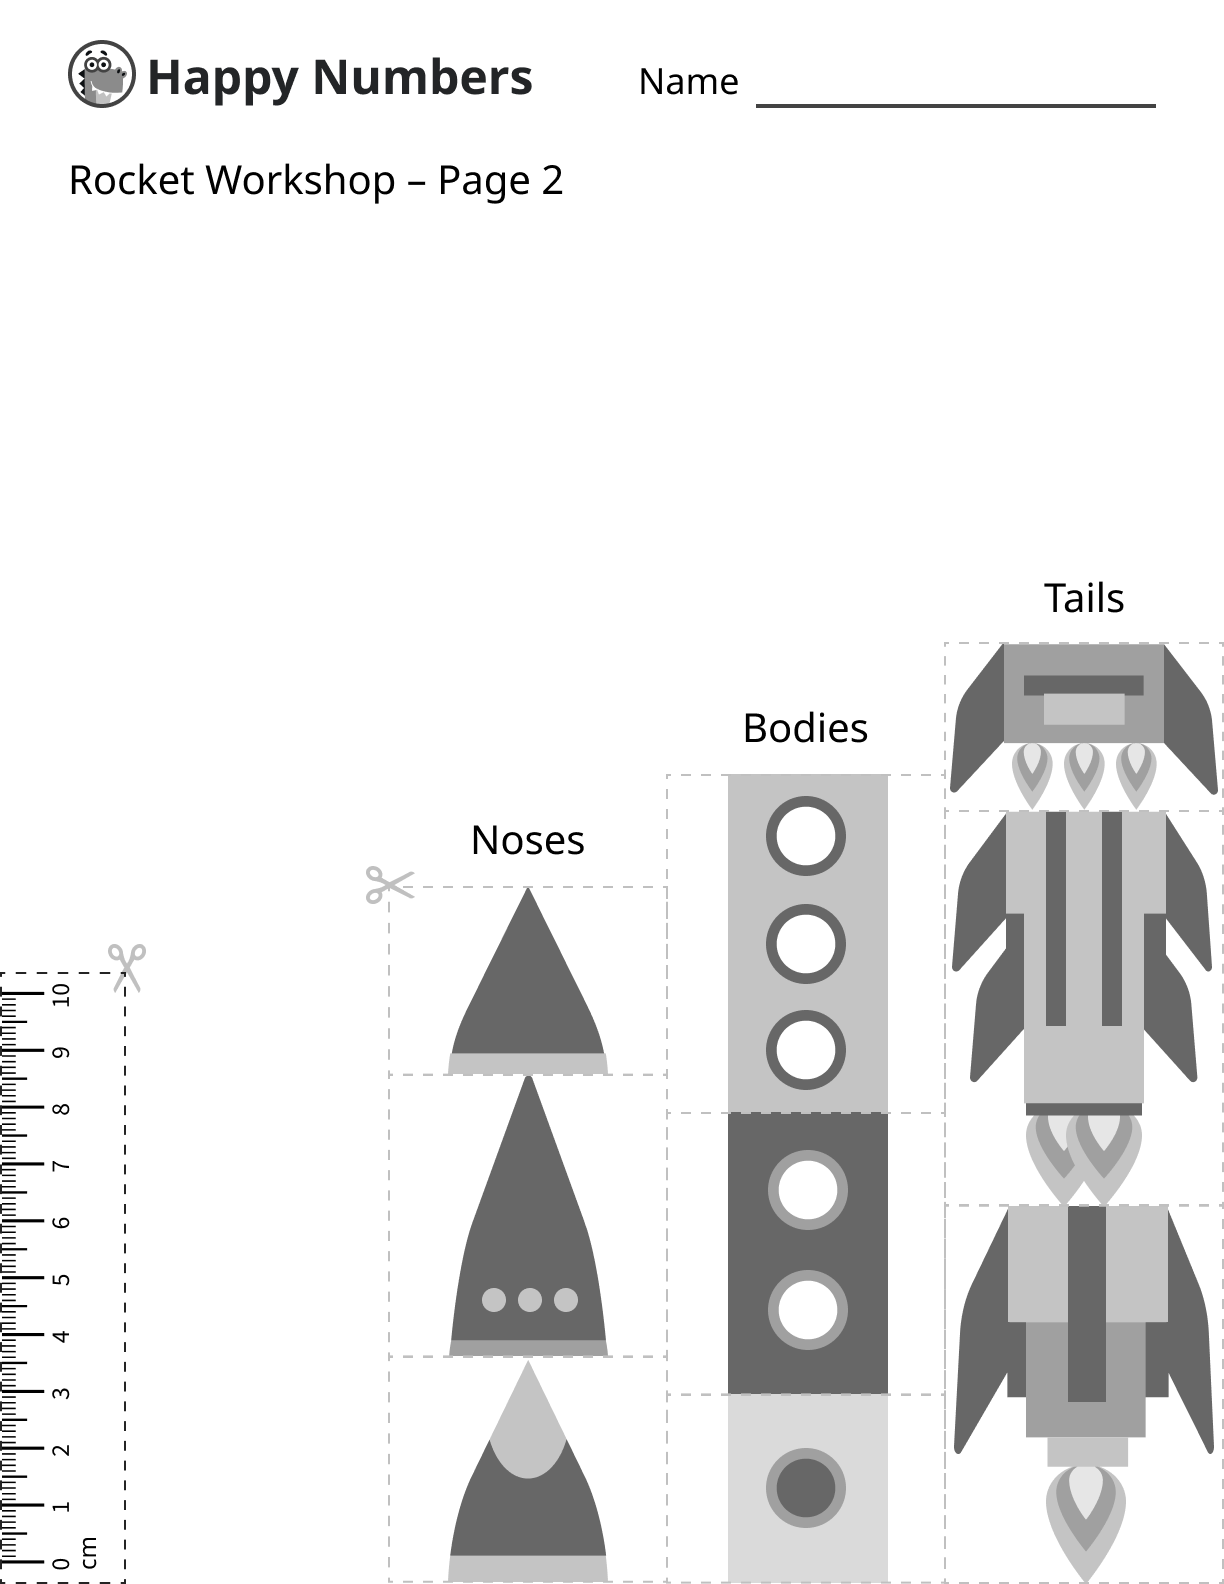
Another exciting opportunity to practice new skills might be building a rocket by letting students measure its parts first and then cut and glue them together. Happy Printables provide a large number of similar workshops for that too!
